Thème personnalisé (Édition Entreprise)
Overview
ownBrander is an ownCloud build service that is exclusive to Enterprise edition customers for creating branded ownCloud clients and servers. You may brand your ownCloud server using ownBrander to easily build a custom theme, using your own logo and artwork. ownCloud has always been theme-able, but it was a manual process that required editing CSS and PHP files. Now Enterprise customers can use ownBrander, which provides an easy graphical wizard.
You need an Enterprise subscription, an account on Customer.owncloud.com, and the ownBrander app enabled on your account. When you complete the steps in the wizard the ownBrander service builds your new branded theme, and in 24-48 hours you’ll see it in your account.

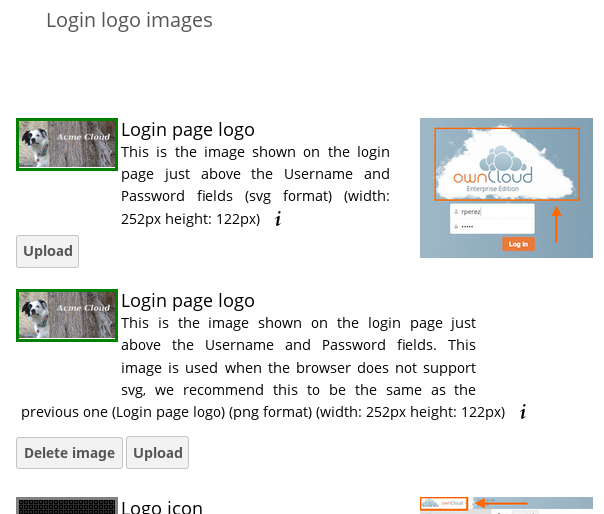
When you open the ownBrander app, go to the Web tab. You will see an introduction and the wizard, which starts with uploading your logo. You will need a number of images in specific sizes and formats, and the wizard tells you what you need. Example images are on the right, and you can click to enlarge them.

Note
If you see errors when you upload SVG files, such as “Incorrect extension.File type image/svg+xml is not correct”, “This SVG is invalid”, or “Error uploading file: Incorrect size”, try opening the file in Inkscape then save as “Plain SVG” and upload your SVG image again.
The wizard has two sections. The first section contains all the required elements: logos and other artwork, colors, naming, and your enterprise URL. The Suggested section contains optional items such as additional logo placements and custom URLs.
When you are finished, click the Generate Web Server button. If you want to change anything, go ahead and change it and click the Generate Web Server button. This will override your previous version, if it has not been created yet.In 24-48 hours you’ll find your new branded theme in the Web folder in your Customer.owncloud.com account.
Inside the Web folder you’ll find a themes folder. Copy this to your owncloud/themes directory. You may name your themes folder anything you want, for example myBrandedTheme. Then configure your ownCloud server to use your branded theme by entering it in your config.php file:
"theme" => "myBrandedTheme"
If anything goes wrong with your new theme, comment out this line to re-enable the default theme until you fix your branded theme. The branded theme follows the same file structure as the default theme, and you may further customize it by editing the source files.
Note
Always edit only your custom theme files. Never edit the default theme files.


